| Home | Donate | Blog | Contact | FAQ | Digi-Scrap Boutique | Facebook | Twitter | Pinterest | Instagram |
Evie Daisypath Anniversary tickers PitaPata Cat tickers

Monday, October 31, 2011

Evie is 1 year, 7 months and 2 weeks old; Eric is 3 years old!

Photos taken this week: 176


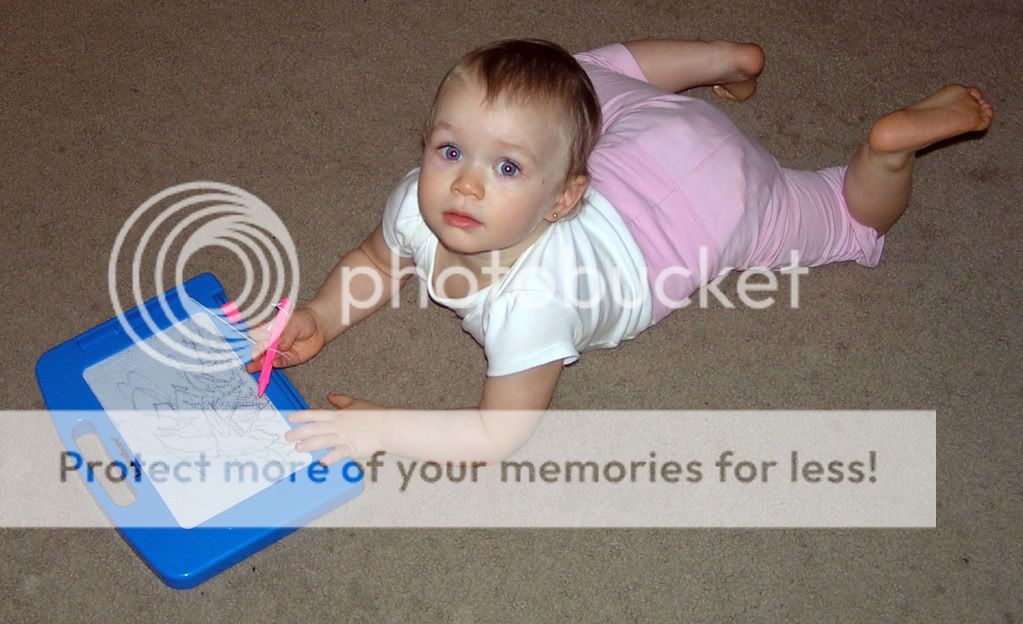
Evie covers her face with her hands and says, “Eeeevie? Eeeevie?” then uncovers her face and looks at me, I say, “THERE she is!!!” Evie laughs and laughs! She is playing peek-a-boo!


Bishop's Pumpkin Farm:

Eric is standing in the middle of the epitome of all pumpkin farms!


This pic is for Papa Steve!


Evie ADORED the goats, she fed them, pet them, and brushed them!


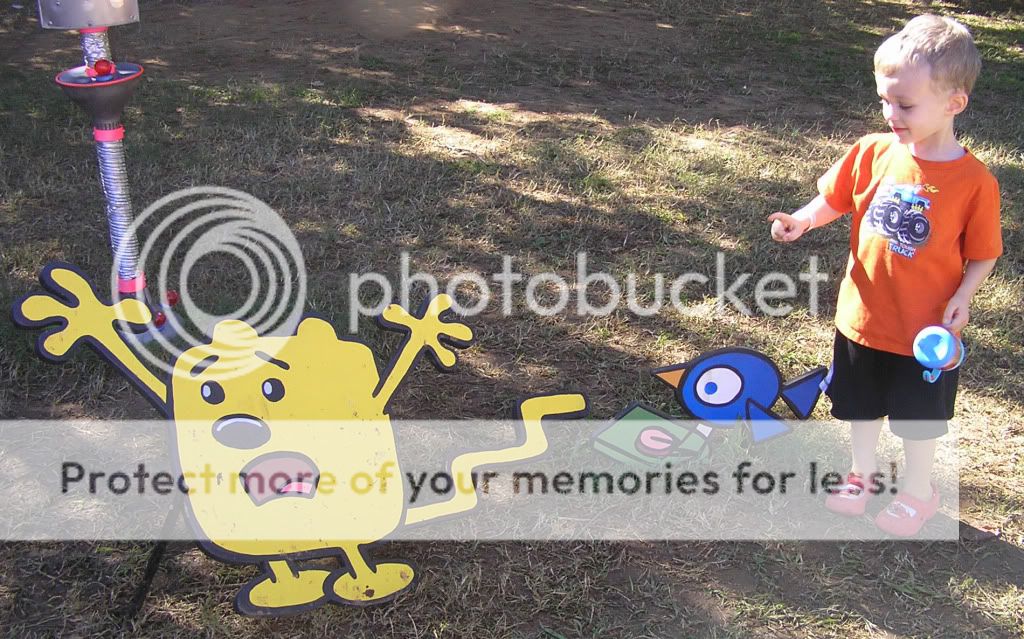
Eric loves Wubbzy, he watches it on TV everyday. We were thrilled to see Wubbzy and his friend birdy-bird, as well as Wubby's little pink friend (below) named Widget.


Evie thought Widget was pretty cool in person, lol!


Evie found this huge yet sad little pumpkin far away from its friends just laying in the dirt. She has a kind heart and wanted to take this pumpkin and give it a good home.


Eric found several huge pumpkins, but he wanted a t-rex jack-o-lantern, so we had to keep looking until we could find a green pumpkin.


Carving Pumpkins:

We found the illusive green pumpkin and started the t-rex design!


Evie ended up with this cute little baby pumpkin because it was just the right size for her to carry around, and she really liked that.


However, she made it clear that the pumpkin may have been cute and little, but it did NOT taste good.


Eric and Dada helped carve out Evie's pumpkin as she watched and held the big ice cream scoop to help get all the 'goo' out.


And here we have Evie's little jack-o-lantern with a heart nose and pomegranate-seed eyes. And Eric's t-rex jack-o-lantern with grape eyes and peppercorn pupils - ROAR!


Costumes:

I won this tutu and headband from a lady at my mommy's group.


Eric was Superman for halloween last year, so I was super excited to get a Batman costume for him this year at a discounted price. I came home and proudly showed Scott my awesome find. His reply, "Of course it was cheap, the cape and cowl are missing." D'oh!!! Back to the store to buy some black fabric.


I made a few chalk outlines to cut.


And voila, a cape!


Evie LOVED the cape! She modeled it, spun around so the cape would flap, and then Eric got interested and started chasing her around the house, both of them giggling hysterically, lol!


Now for the cowl. I got some black felt.


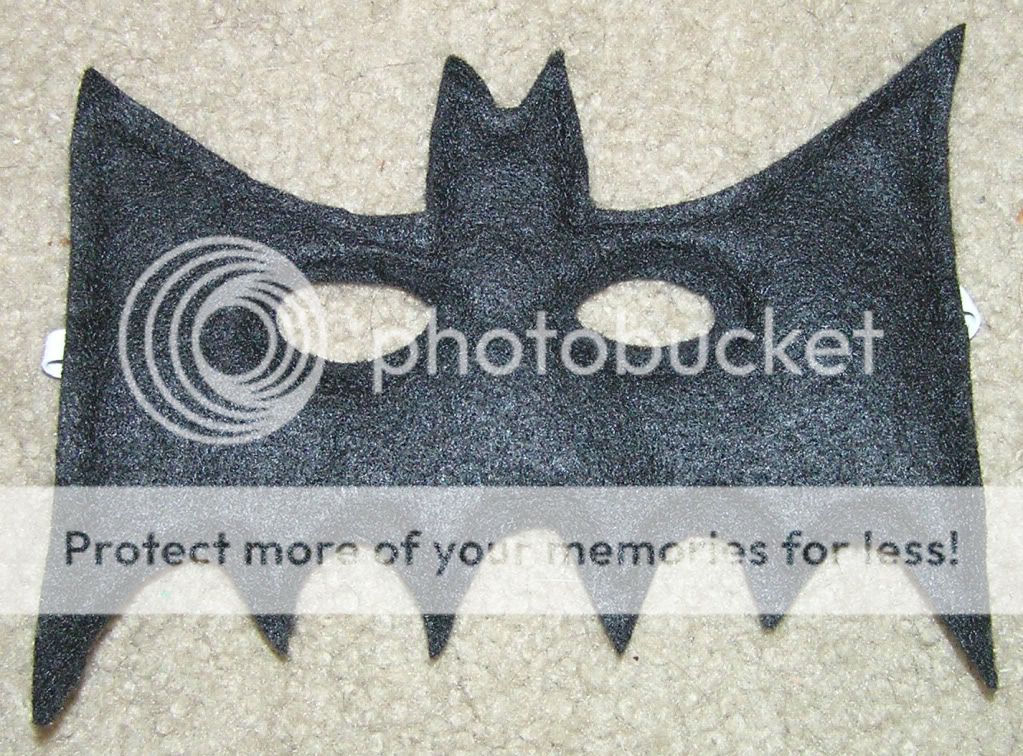
Cut out two bat shapes and sewed most of the edges together, leaving a gap for elastic.


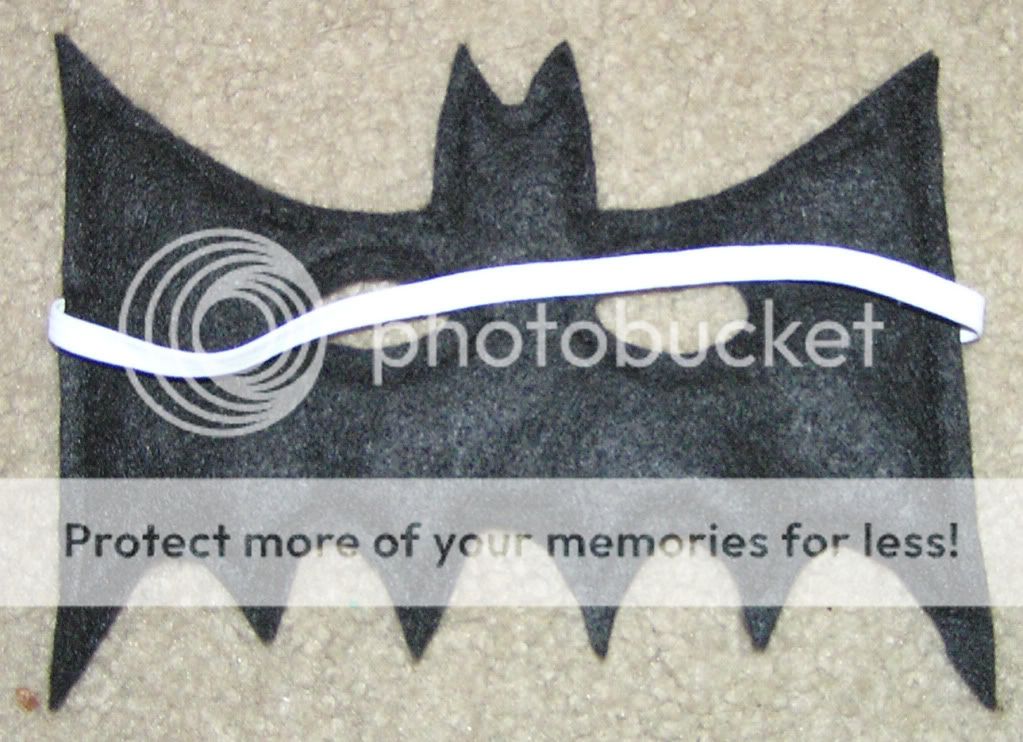
Cut the elastic and sewed it into the gaps I had made ealier.


Finally the costume was ready!


Then Scott said since I was making stuff that Bailey needed a costume too; so I went back to the store and bought some more fabric and more felt. Then I went online and found the Underdog logo/symbol and made Bailey a costume too.


Ta da, it fits great!


I made Evie's tutu, but thankfully the rest of her outfit was purchased; one more costume to make and I might have missed the Oct 31 deadline, lol!


Trick-or-treating was a hoot, Eric wanted to go inside everyone's house and Evie wanted to continuously ring people's doorbells, while Bailey wanted to either bark or walk in with Eric, lol!


And here's our poor little black cat who we have to hide on Halloween. He gets to watch the excitement from the safety of the window sill.

Monday, October 24, 2011

Evie is 1 year, 7 months and 1 week old; Eric is 3 years old!

Photos taken this week: 157


Evie says she doesn't mind getting her shots as long as she can call china and bid on ebay as distractions. She is 33.5 inches tall and 25.7 pounds at her 18 month appointment.


stylin'!


in a few years she will be writing in her diary just like this, lol!


Eric 'sleeps with dinos' Bowden


I saw this amazing settee and wished Eric were dressed as someone from "The Great Gatsby." Maybe next time, lol!


I took this picture from Evie's bedroom window. She was sleeping and the boys were across the street at the park.


When the mail cart becomes a stroller complete with blankie, it must be time for nap.

Monday, October 17, 2011

Evie is 1 year, 6 months and 4 weeks old; Eric is 3 years old!

Photos taken this week: 52


hooray for baseball!


this picture didn't turn out at all, but it was such a sweet moment, Eric was playing the little piano and they were both singing -- just darling!


Evie visits Eric's school, and he shows her all around and what to do at school.

Friday, October 14, 2011

DIY Headboard - Special Edition Blog Post!

Photos taken of this project: 39

I have always been a big fan of HGTV and DIY projects. Besides being inexpensive, they are fun and bring a lot of personal pride. At some point many years ago, while watching HGTV, I saw someone make a headboard and I immediately added that project to the TO DO LIST in my head. My entire adult life, I had never had a headboard, so this is the story of how I made my very first headboard.

During the end of August, while helping me put the sheets on the bed, Scott's side ripped. I was sad and glad all at the same time, because even tho I loved my beautiful ivy-print sheets, they were 11 years old and thread-barren. After much searching, I found some gorgeous green toile print and knew right away that the map prints I had been thinking of purchasing weren't even close to what I really wanted. After shopping around for the best price on this green toile bedroom set, I realized the sheets were not included, so then there was a ton more research on sheets and thread counts and shams and etc. Finally, I found some beautiful 400tc creme sheets in the same ticking stripe as the backside of the green toile quilt. I ordered everything (including an extra set of curtains) and waited for it to arrive.

Of course, everything arrived piecemeal, the rug was back ordered, the sheets were a separate order and coming from India, so I waited FOREVER (until Oct 12) to have the entire bedroom set all together. This gave me time to do some research on the exact steps to making my own headboard as well as purchase all the supplies I would need. When all the bedding had finally arrived, I washed it all and got ready for my first big DIY project since before Eric was born.

We had an extra closet door (since we got that beautiful full length mirrored closet door shortly after we moved in) and that's what I wanted to use as the main part of my headboard. I measured twice and had Scott cut once, lol. Then I made a bunch of measurements so I would know where I wanted the buttons to go (and so that they would be straight).


I laid the door down and sprayed it with adhesive, then put down a layer of foam.


Then another coat of adhesive and another layer of foam. This is going to be a diamond-tufted headboard, so I needed the extra layer of cushion to get a deep set button hole (more on this later).


After the foam was adhered, I drilled holes based on the pencil marks and measurements I had made earlier.


The I flipped the door over so I could see where I had drilled, and started to make the drill holes larger just in the foam portion.


In order to do this, my dad invented and forged a special tool for me which worked like an absolute charm (thank you!!!). If it wasn't such a chore to sharpen the inside of the tiny steel pipe, I would suggest making these by the truck-load and selling them! You can see how perfectly it cut thru both layers of foam. I can't even imagine trying to do this any other way.


Next came two layers of batting and that extra set of curtains I bought. How else could I match the headboard to the rest of the bedroom set -- yes, with the matching curtains used as my fabric! I also used part of the same curtain to cover the self-covering buttons I bought. This was a chore and required an extra trip to the store to buy more buttons as well as enlisting the help of both my parents (thank you!!!) -- you wouldn't think covering buttons would require so much expertise, but its definitely one of the more difficult arts, lol!


And if I thought covering the buttons was difficult, attaching them to the door proved even harder. This was another time in my life that I would have been happy to have at least 2 more arms, but 4 more would have been preferred, lol! First you string the back of the button with some heavy duty  upholstery cording, then you pull the cording thru the fabric, two layers of batting, and two layers of foam and push the button down into the hole in the foam while you knot and staple the cording to the back of the door. I had 17 buttons and had to do them in two different days because my hands were so sore from holding the door up while trying to push the button down into the foam and knot and staple the rope to the back of the door, lol! This is what the rope looks like on the back of the door, its stapled and knotted three times to keep it secure forever.


This is what it looks like on the front -- worth the effort, right?   :)  The diamond tufting is super deep and makes for a really luxurious look.


Once I got all 17 buttons in place, it was time to staple down the batting and fabric, being sure to get it all flat so it could sit flush against the wall. I purchased a special leveling hanger so the door would remain in the wall even with over 200 pounds of pressure and/or an earthquake, and so that it would be straight.


I had Scott help me get this special leveling hanger screwed into the back of the door and he also helped me hang the whole thing on the wall. I'm so pleased with the way it turned out! Here it is with the matching shams, pillow cases, comforter, quilt, sheets, and throw pillow.


Here are the matching curtains and curtain rods (thanks to Heather for helping me pick out the curtain rods!)  This was an extra trip to the store because the ones i bought initially didn't look quite right. The curtains look so nice with our new blinds!


With the extra set of curtains I bought I only used one panel for the headboard, so i cut the other panel in half and used them on our night tables.


The coordinating rug sits in front of my hope chest at the base of our bed, and completes our awesome new look! I smile every time I walk into our bedroom!